

Trying and trying to add a margin to an image or move a caption, but Preview frustratingly will only resize the whole image, not the canvas? Find out here how to increase the canvas size for an image in Preview on a Mac ⤓ without scaling the image itself.
On This Page
How to Change Only the Canvas Size in Mac Preview (Without Scaling the Image)
Time needed: 2 minutes
To increase the size of an image’s canvas without scaling the image (with the result of empty space around the image) in Preview on a Mac:
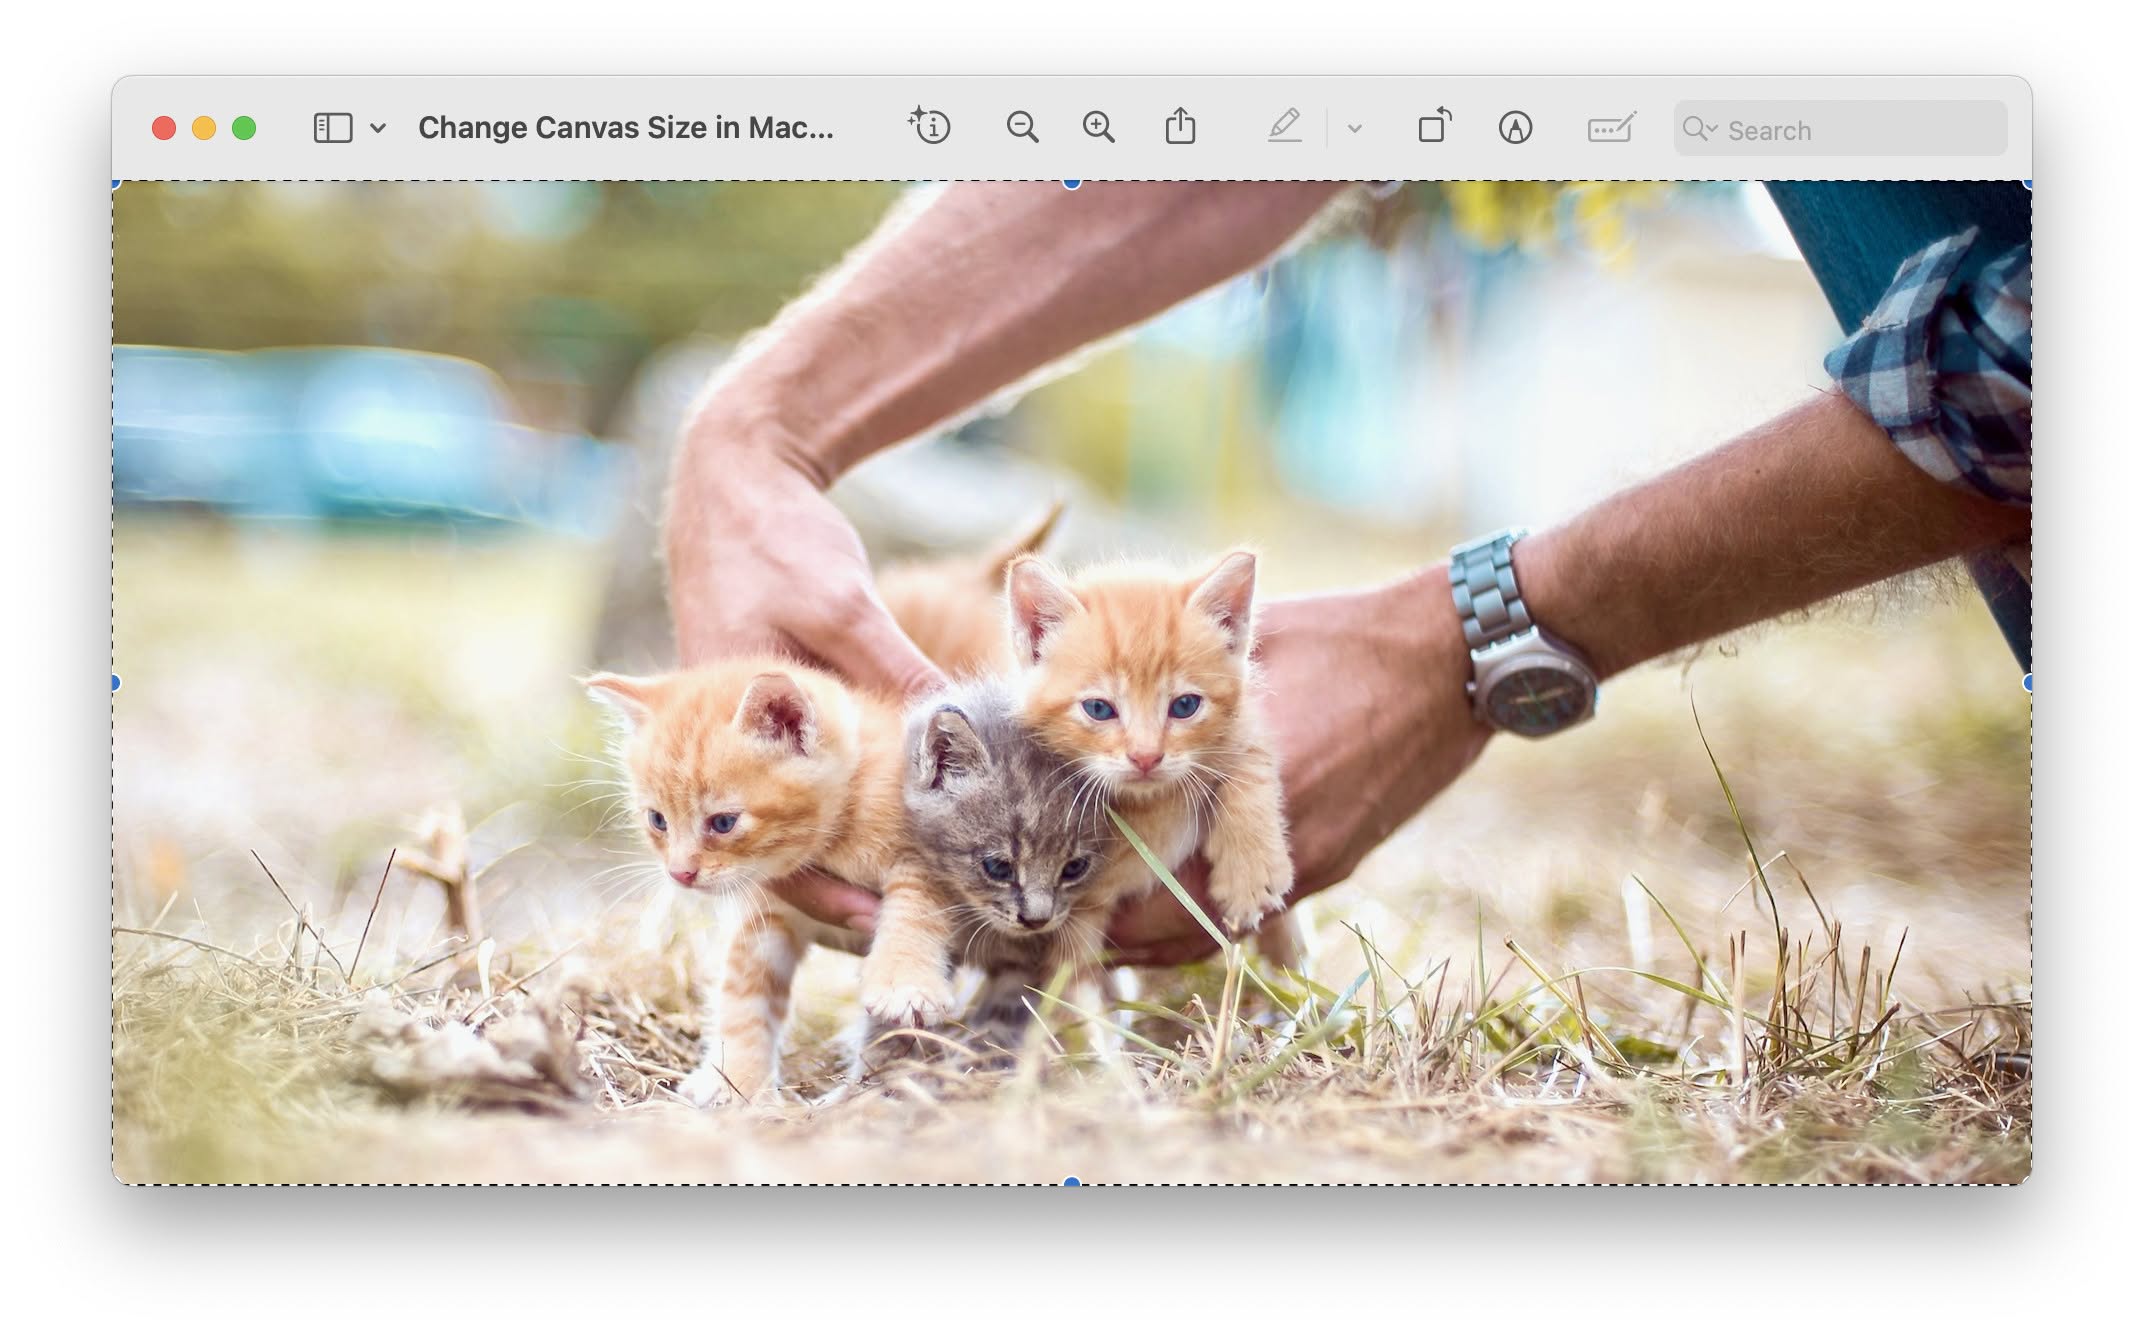
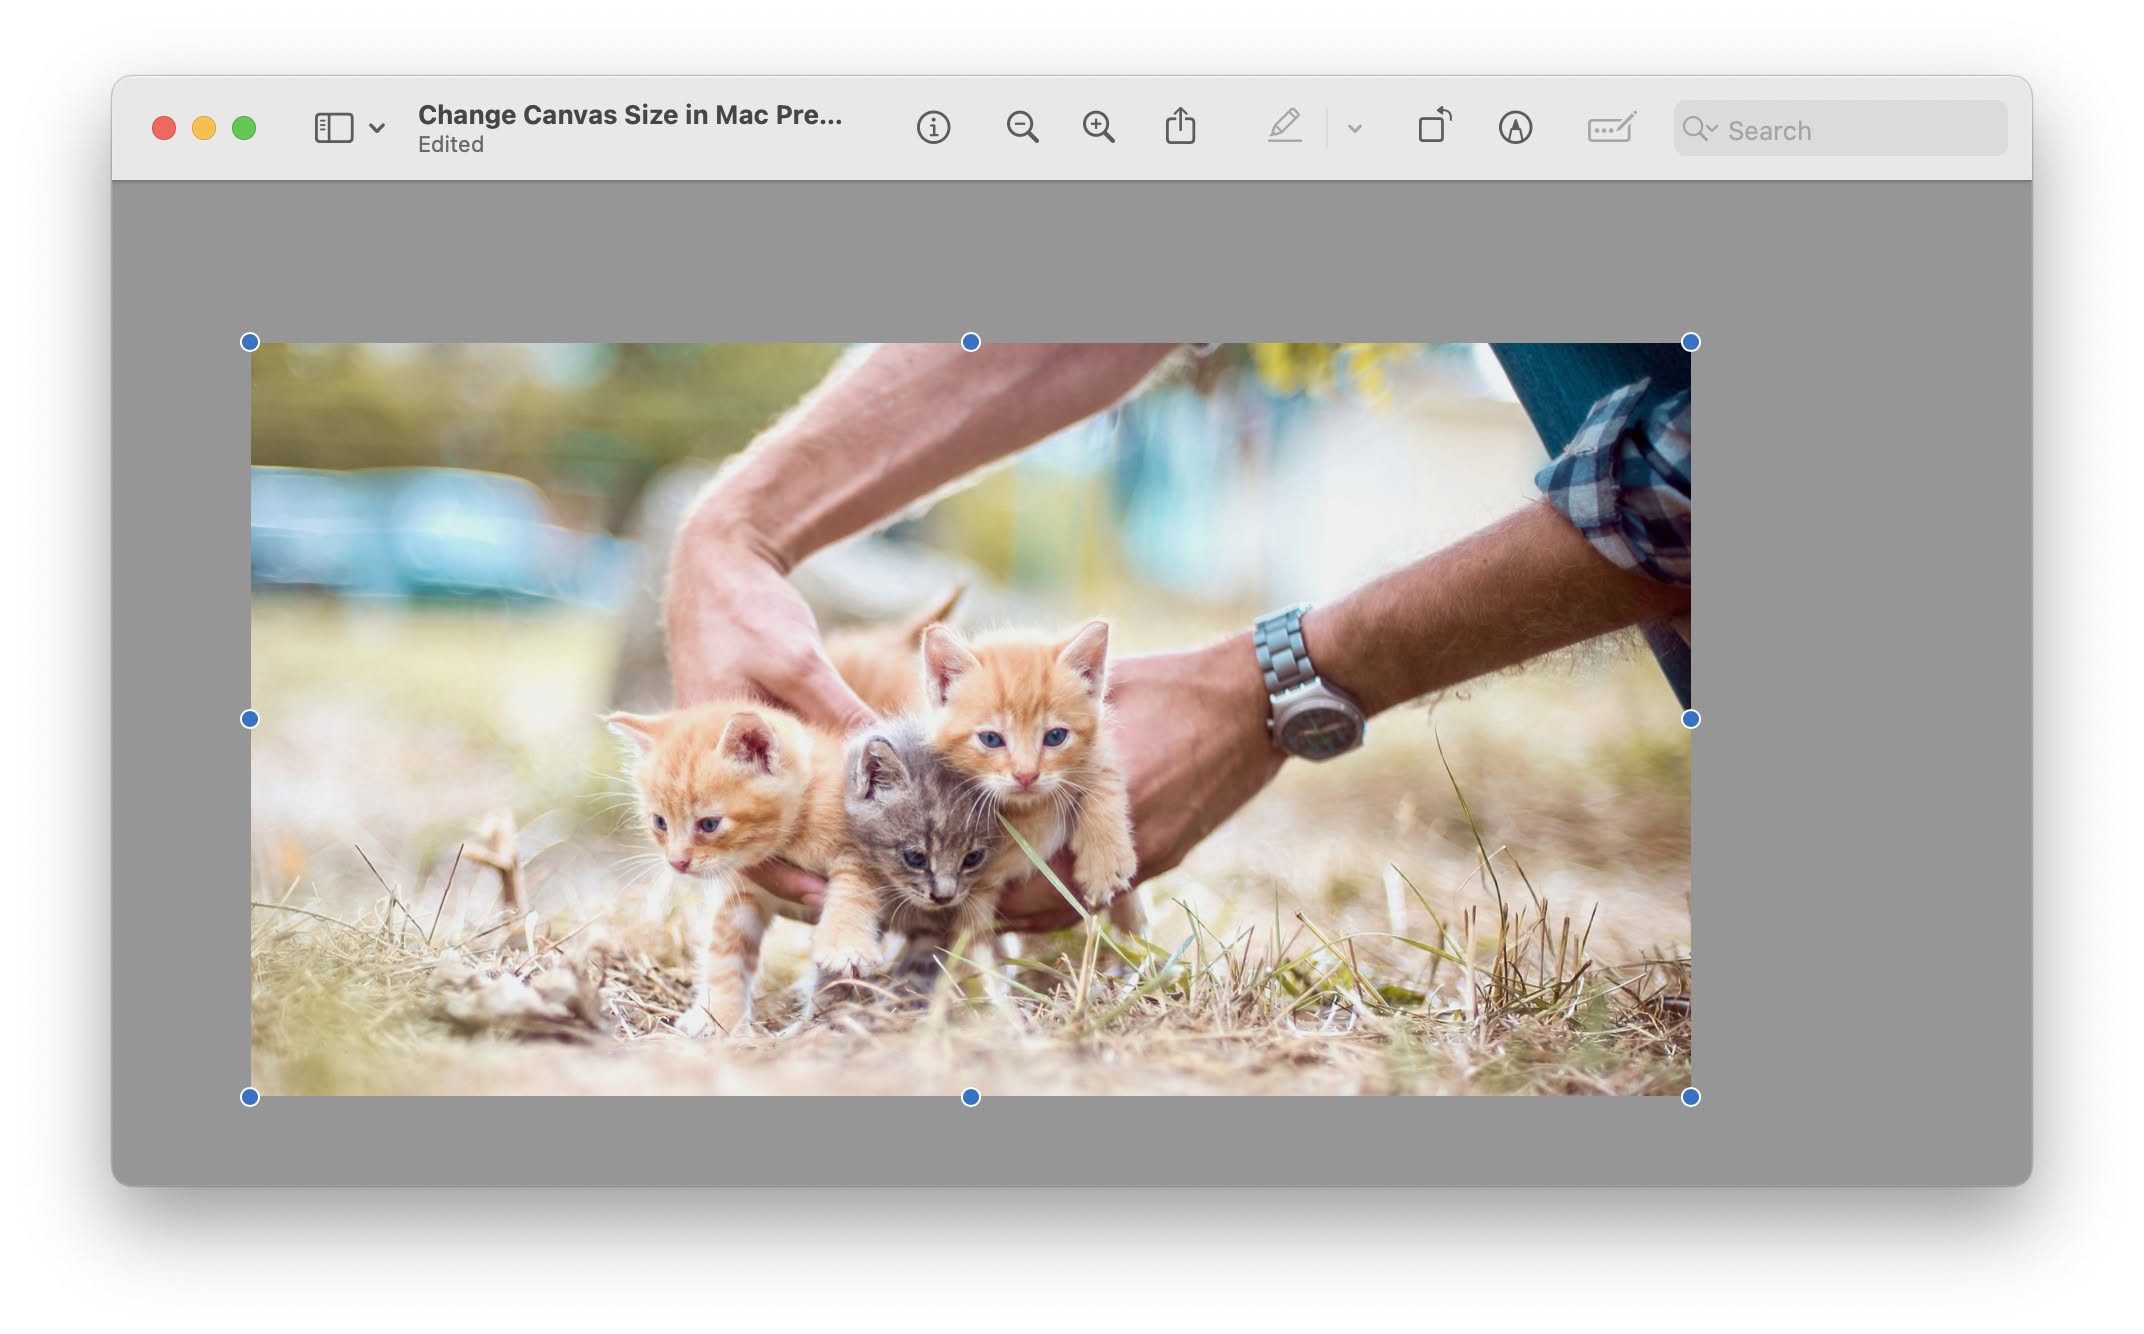
- Open the image in Preview on the Mac.
Backup: Press Command Shift S after opening the image to create a duplicate to work on in Preview if you want to preserve the original image.
Images only: Expanding the canvas works for image formats in Preview; you cannot expand the canvas for PDF documents. - Press Command A.
Here’s why: This will select the current image as is.
Menu alternative: You can also choose Edit | Select All in the Preview menu.
- Now press Command X.
Here’s why: With this command, you cut the current selection — i.e., the whole image as is — from the canvas and move it to the macOS clipboard for later pasting.
In the menu: Using the menu, pick Edit | Cut.
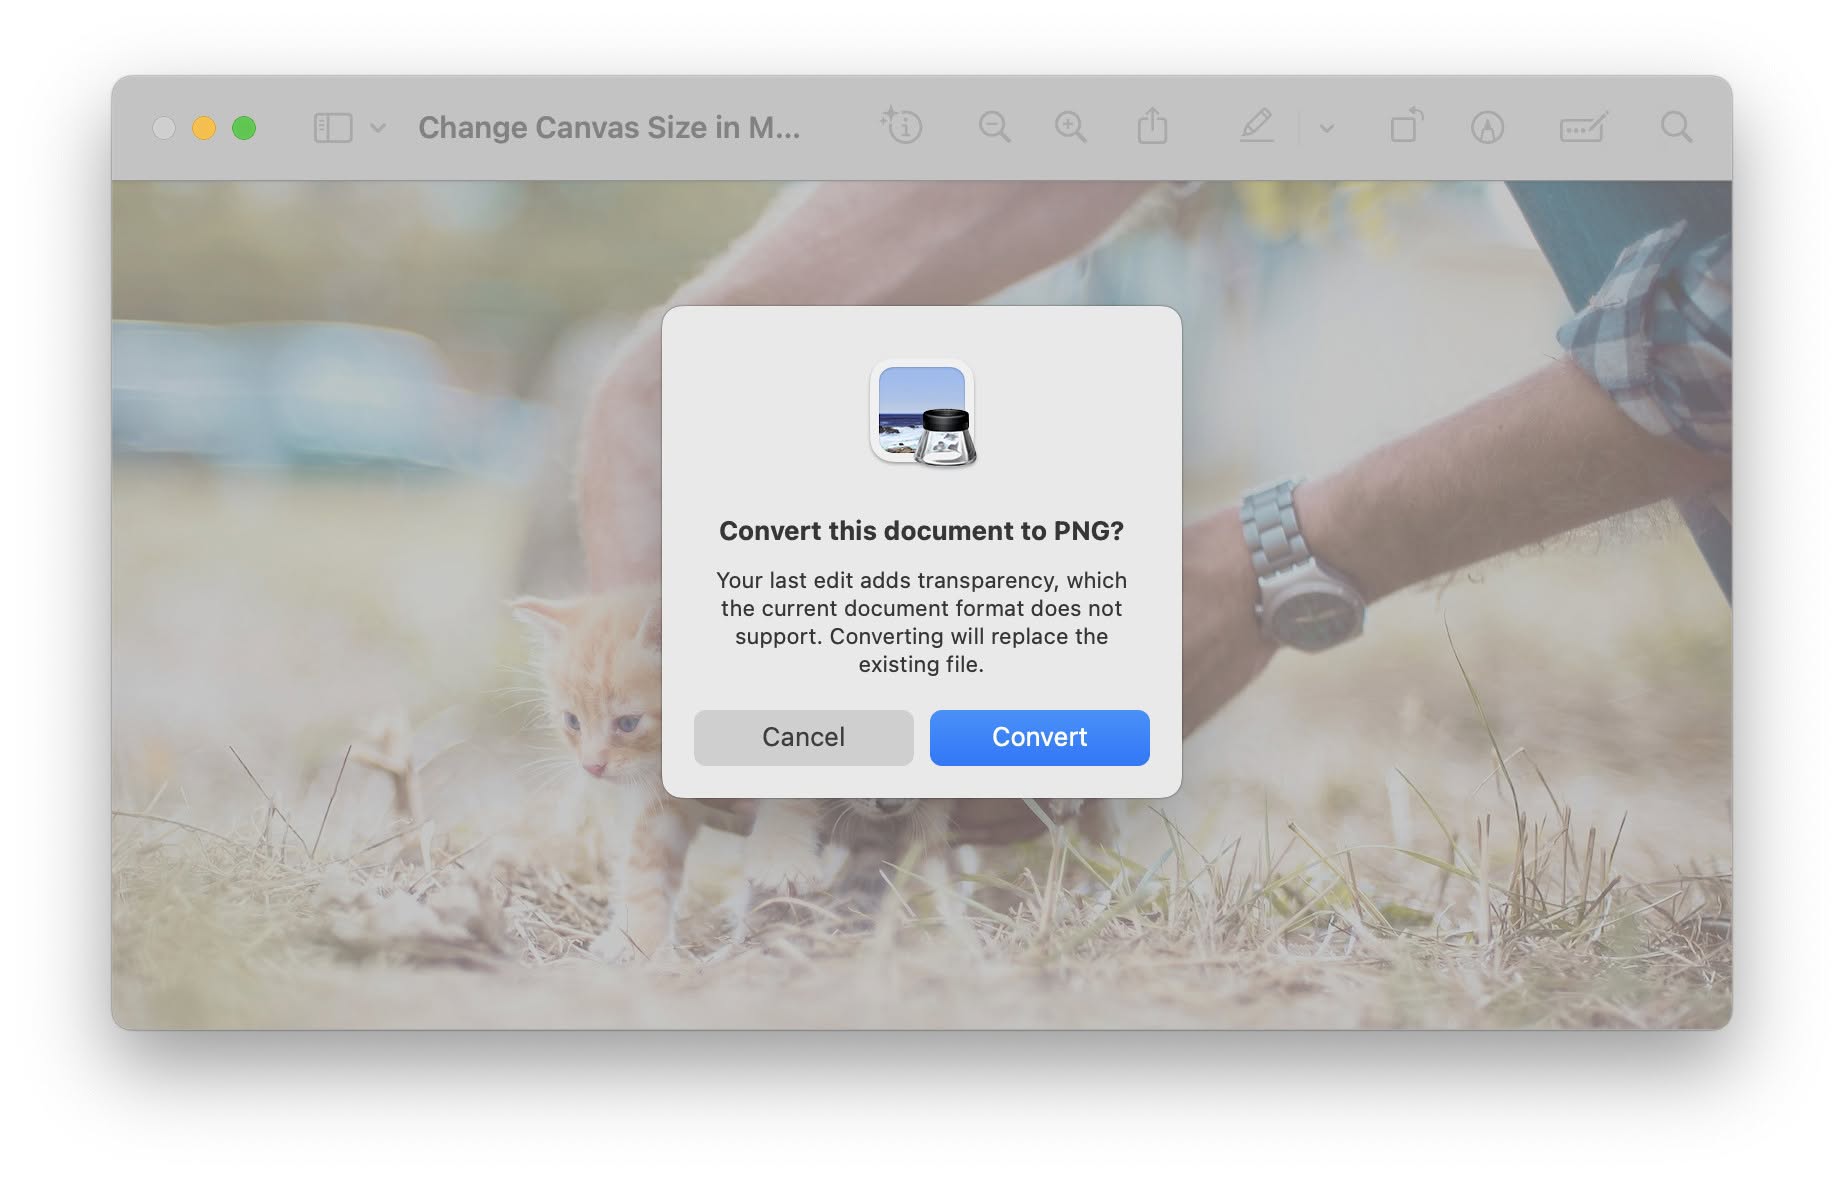
Convert to PNG: if you cut from a JPEG or other image without translucency, click Convert under Convert this document to PNG?; to expand the canvas, Preview needs to add transparency in the expanded areas.
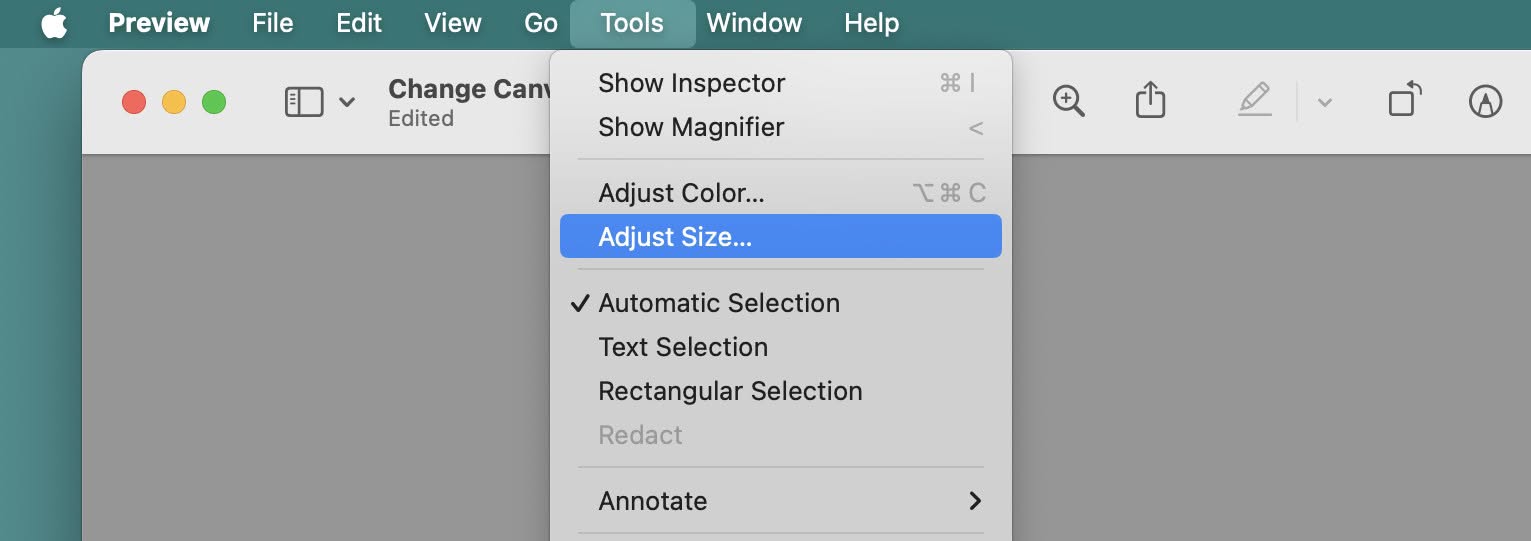
- Select Tools | Adjust Size… from the menu.
No cropping: Note that you can only crop inside the existing canvas in Preview, not outside it to expand the image area.

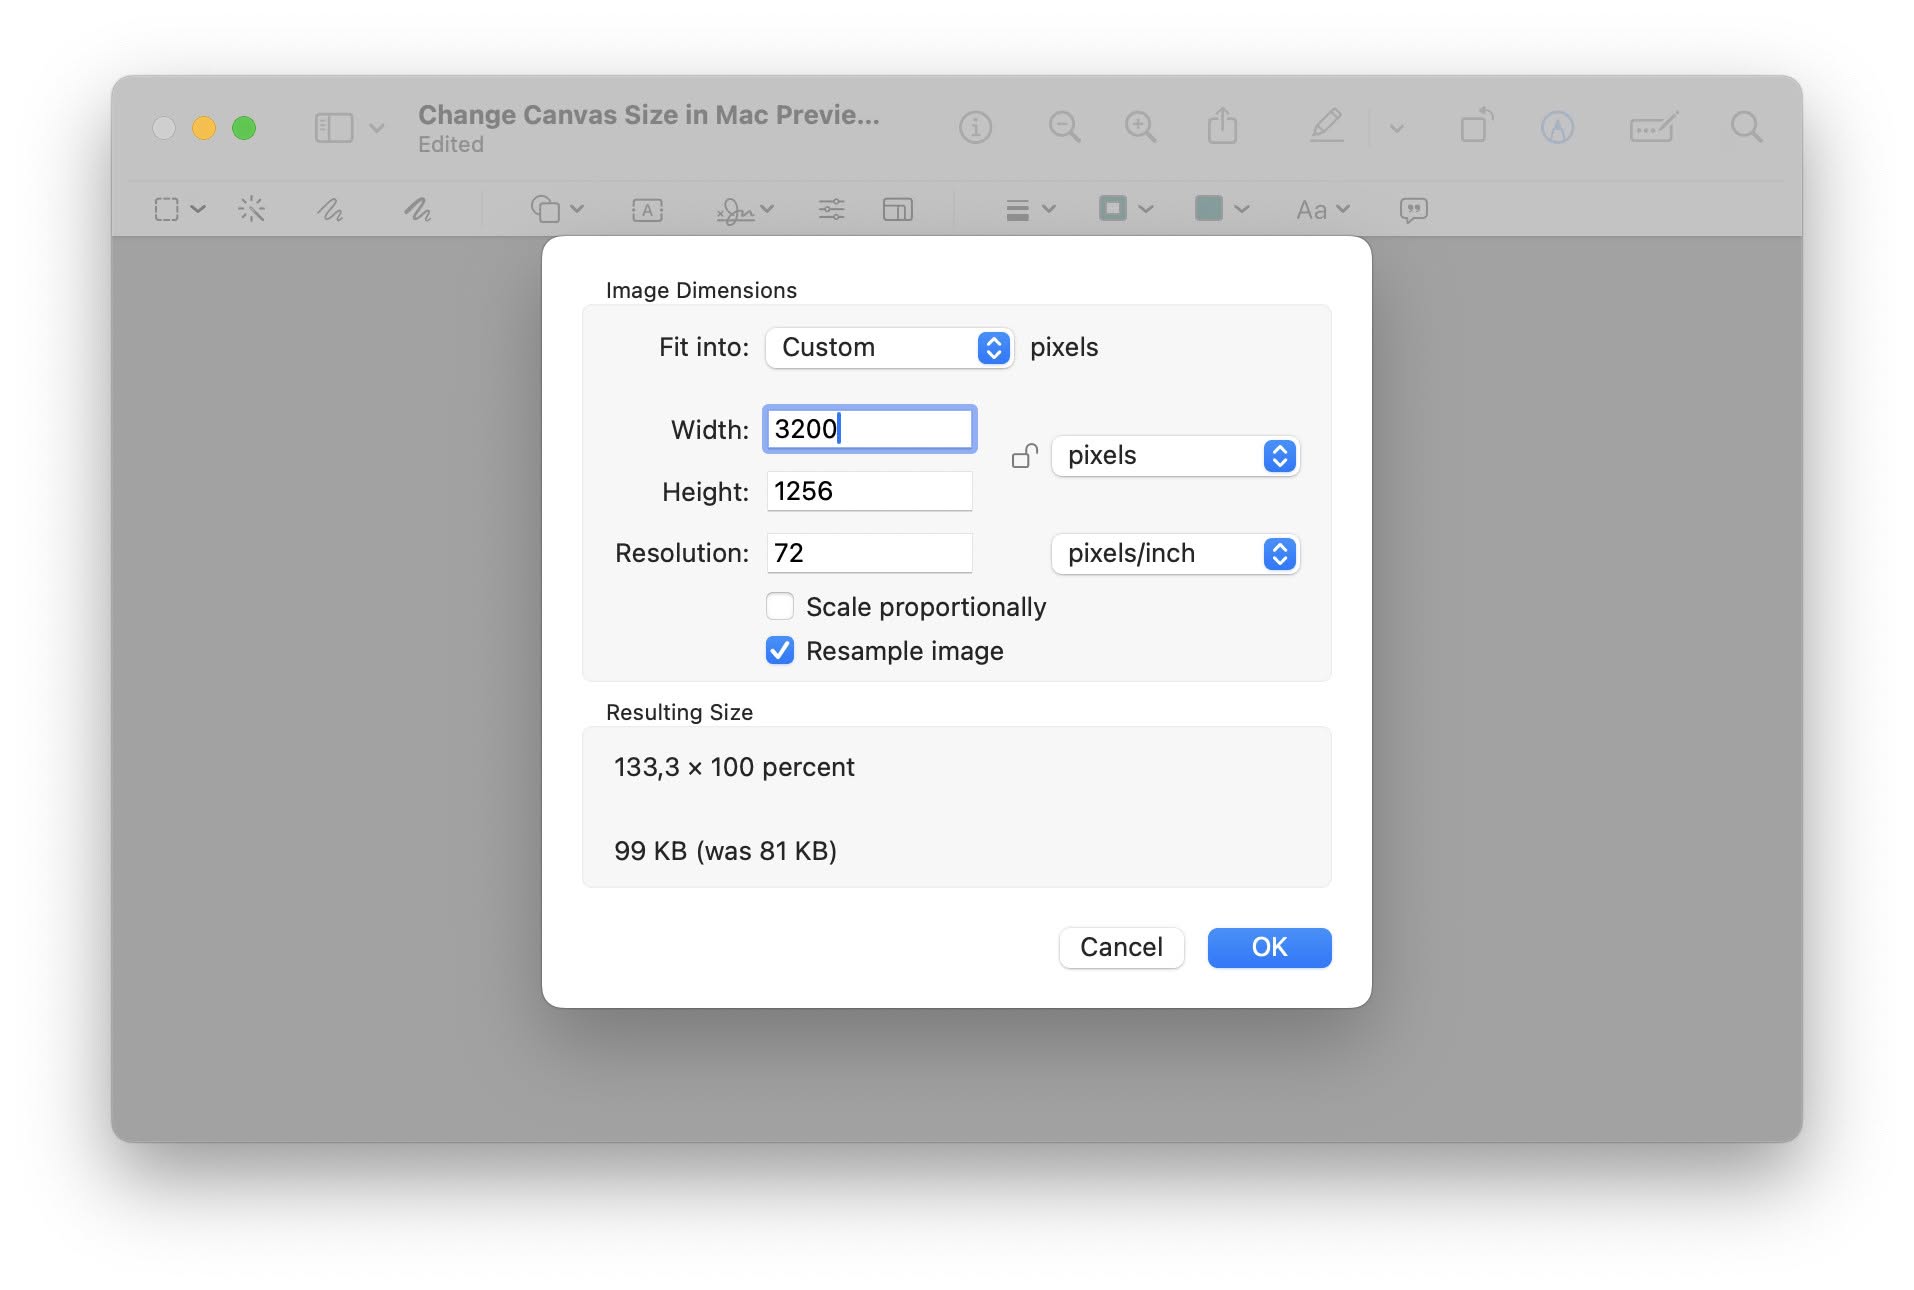
- Choose the size you want to use for the canvas.
Pixel precision: Select pixels for Width: and Height:, then enter the adjusted size in pixels.
Other sizes: You can also choose percent, of course, and scale the canvas size.
Independence declaration: To choose a proportion different from the original canvas, turn off Scale proportionally. - Click OK.

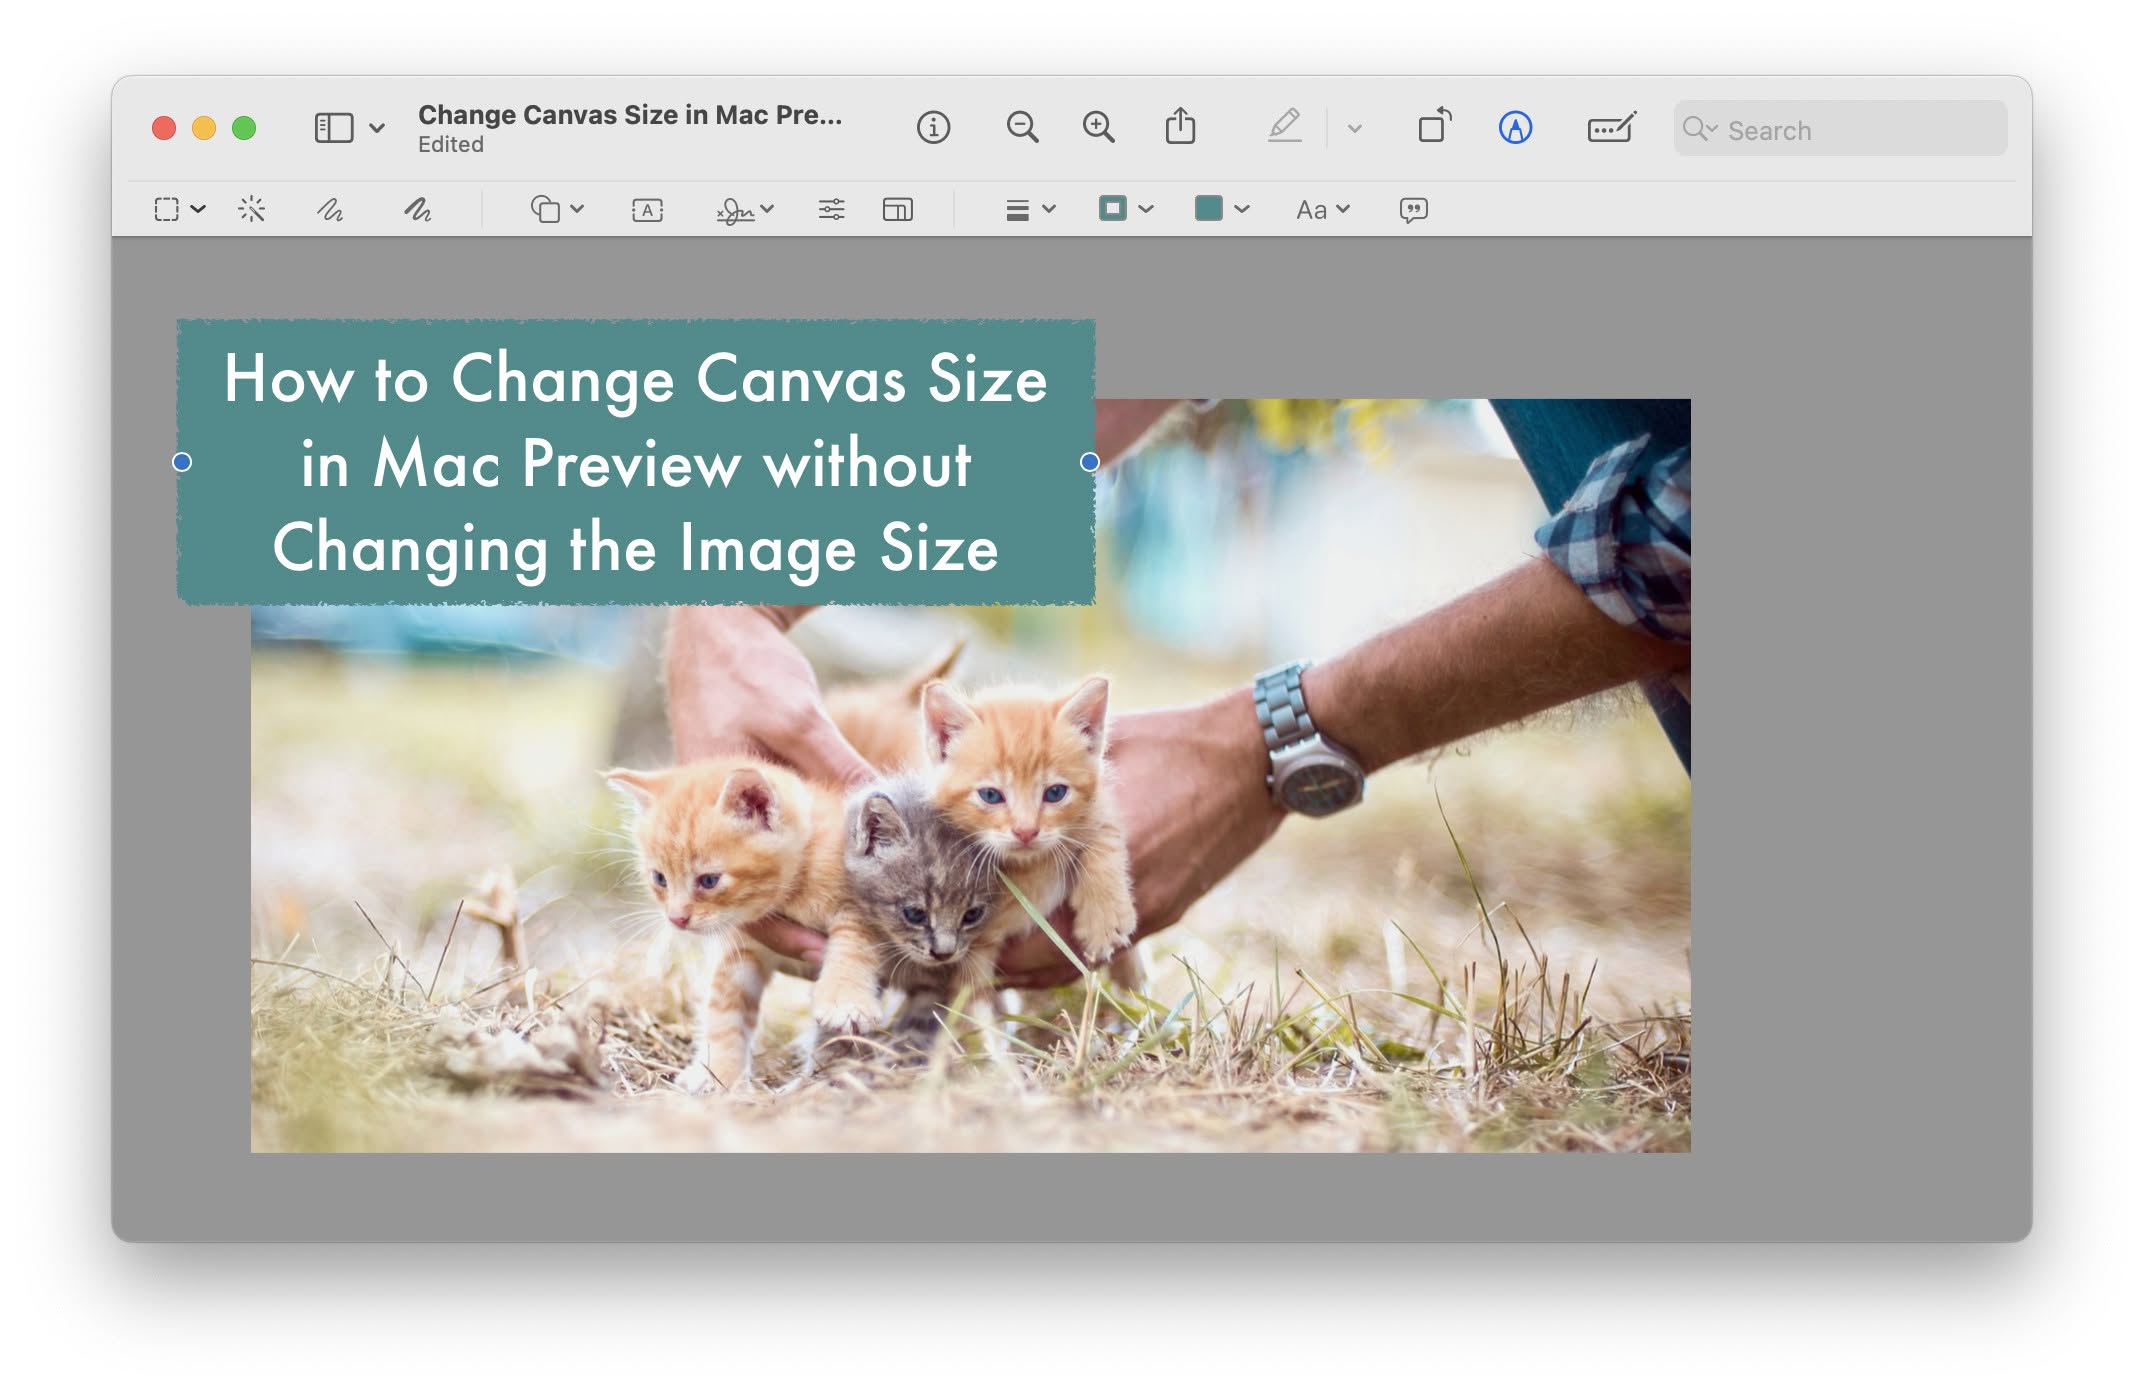
- Press Command V.
Here’s why: This will paste the image you cut to the system clipboard in its original size.
- Use the mouse cursor to position the pasted picture in the newly expanded canvas.
- Add further image elements, as desired, beyond the original image’s constraints.

- Save the image in the desired format.
No translucency: If you save the image in a format without translucency (such as JPEG), the background will be filled in with black.
As an alternative, you can also paste the image onto a larger, empty image that has the desired size, of course.
Canvas remodeling complete?
Tips help fuel these email and tech how-tos.
How to Change Canvas Size in Mac Preview without Changing the Image Size: FAQ
The image will not paste into the resized canvas; what can I do?
Chances are, something replaced the image in the clipboard since you cut it from the original canvas.
To start over, press Command Z to undo until the image is back in the original canvas, then resume with the steps above.
(Tested with macOS Tahoe 26, Sequoia 15and Sonoma 14; first published May 2024, last updated July 2026)