
Want to start a new image in Preview — and find no place to choose a pixel size? Struggling to start a graphic with a specific proportion? Find out here how to create a blank new image of any size in Preview on a Mac ⤓.
On This Page
How to Create a Blank New Image of Any Size in Preview on a Mac
Time needed: 3 minutes
To make a new empty image of any size in macOS Preview on a Mac:
- Download a 1×1 pixel transparent PNG image.
Roll your own: See below for creating the image yourself.
Image size: A translucent image of any size works, of course; you can find examples below.
Colors: You can also use a single-color image, of course, to create an arbitrarily sized colored image.
Make it a template: You can have macOS automatically create a copy when you open the image so you do not need to duplicate it manually. - Open the file in Preview.
Here’s how: You can always click on the file with the right mouse button in Finder, then select Open With | Preview from the context menu.
Nothing to see here: You’ll not see much, of course; you can select all (using Command A, for example), to see the image in the center. - Create a duplicate of the original file.
Here’s how: Select File | Duplicate from the menu, for example.
Preview keyboard shortcut: You can also press Command Shift S (reminiscent of Save as…, which duplication essentially accomplishes).
Not for templates: You can skip this step if you have made the template image stationery. - Choose a name for your custom-sized image under Name:.
Using a template: With a template image, click the temporary name in the Preview title bar to open the naming pane.
- Select Tools | Adjust Size… from the menu.
- Turn off Scale proportionally.
Equal proportions: You can leave it on for a square image, of course.
Resampling: Do turn on Resampling so you can pick arbitrary image sizes. - Typically, change the unit to pixels.
Other measurements: You can use the other units as well.
- Enter the width and height in pixels under Width: and Height:, respectively.
- Click OK.
What now: Paste images to make a composite, for example, or to change a picture’s canvas size.
Single-color: You can turn the new creation into a small, single-color image right in Preview.
Their word: Apple include information on resizing images in the Preview User Guide.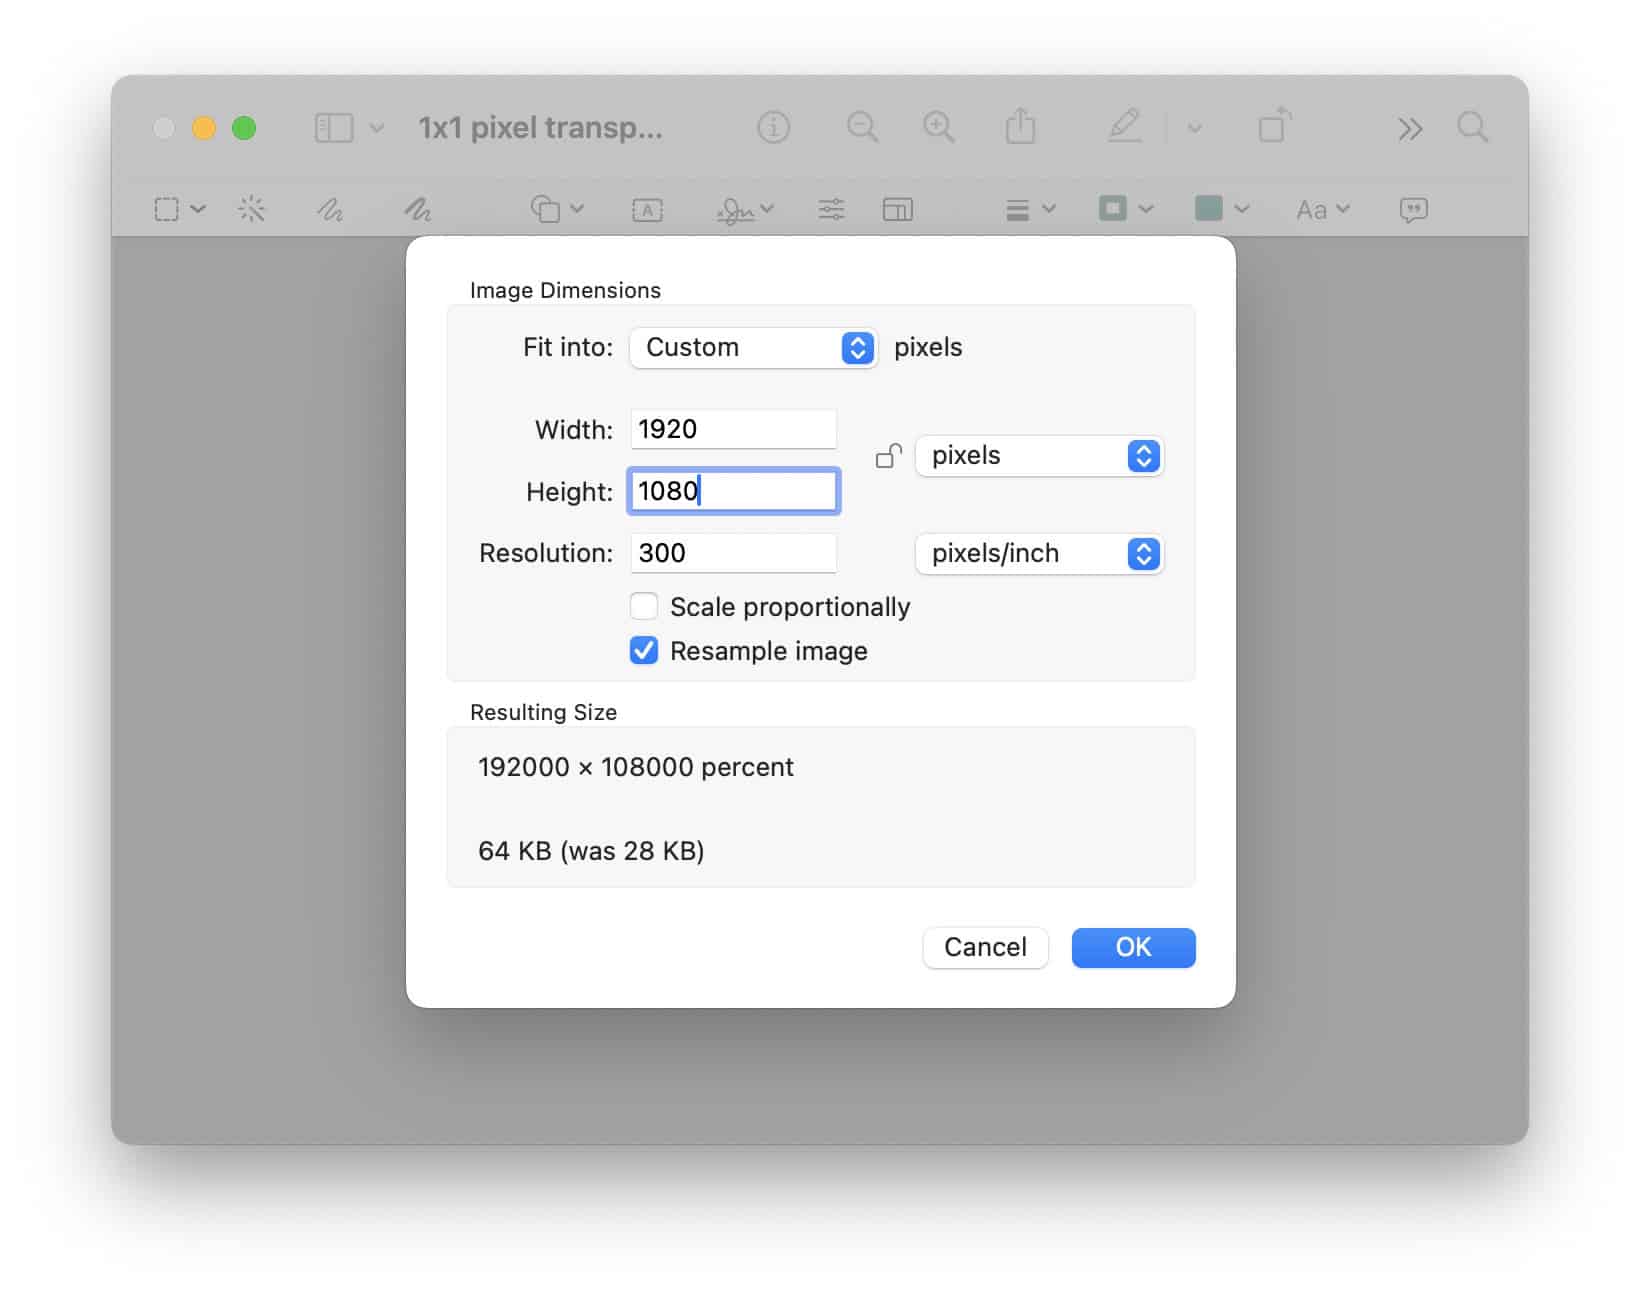
Custom canvas created?
Tips help fuel these email and tech how-tos.
Make an Empty Canvas Image in Mac Preview
To create an empty 1×1 pixel image (or, of course, any other size you regularly use) in Preview:
- Take a screenshot of anything on the Mac and copy it to the clipboard.
Here’s how: Press Command ControlShift 4 to copy an arbitrary portion of the screen to the clipboard, for example. - Open Preview.
- Select New | New from Clipboard in the menu.
Keyboard shortcut: You can also press Command N. - Press Command A.
Using the menu: Select Edit | Select All. - Now press Backspace or Del to delete.
- Use Tools | Adjust Size… to change the image to the desired size (e.g., 1 by 1 pixels) as above.
- Save the empty scalable image as a template.
Common Image Sizes and Aspect Ratios
For a head start, download ready-made translucent images in various resolutions and aspect ratios here:


(Tested with macOS Tahoe 26.0–26.3, Sequoia 15.1–15.4 and Sonoma 14.5; first published June 2024, last updated February 2026)