

[Archived] Looking to make a picture more interesting and atmospheric? Find out here how to add a photo (film) grain texture effect ⤓ to an image in Paint 3D using but its built-in tools.
On This Page
How to Add a Photo (Film) Grain Texture Effect to an Image in Paint 3D
This is an archived article.
Time needed: 15 minutes
To add a grainy film texture to a photo or image with Paint 3D:
- Open the desired image in Paint 3D.
- Select Stickers in the toolbar.
- Go to the Textures tab in the Paint 3D sidebar.
- Select Concrete.
Options: You can experiment with other textures, of course, such as Sand or Marble.
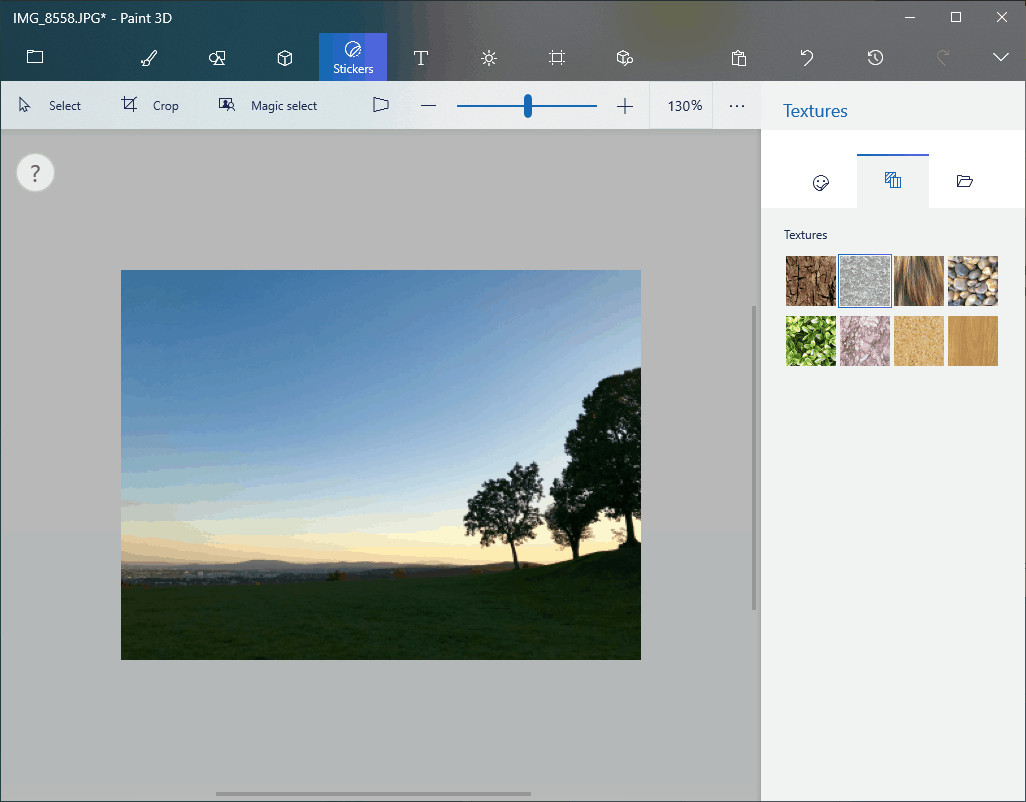
- Click the image to add a texture object.
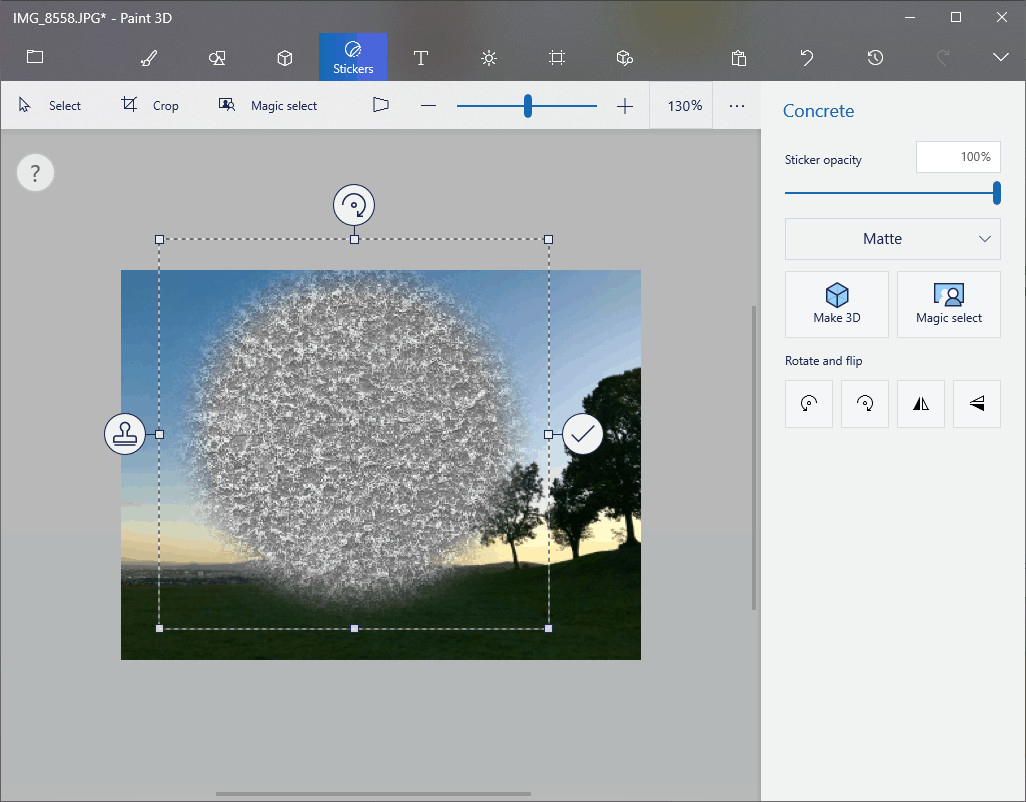
- Resize the object so it covers the image whole.
Finely ground: For a finer grain, keep the texture small, and add more texture stickers to cover the complete picture. This is especially useful if the original image is of high resolution.
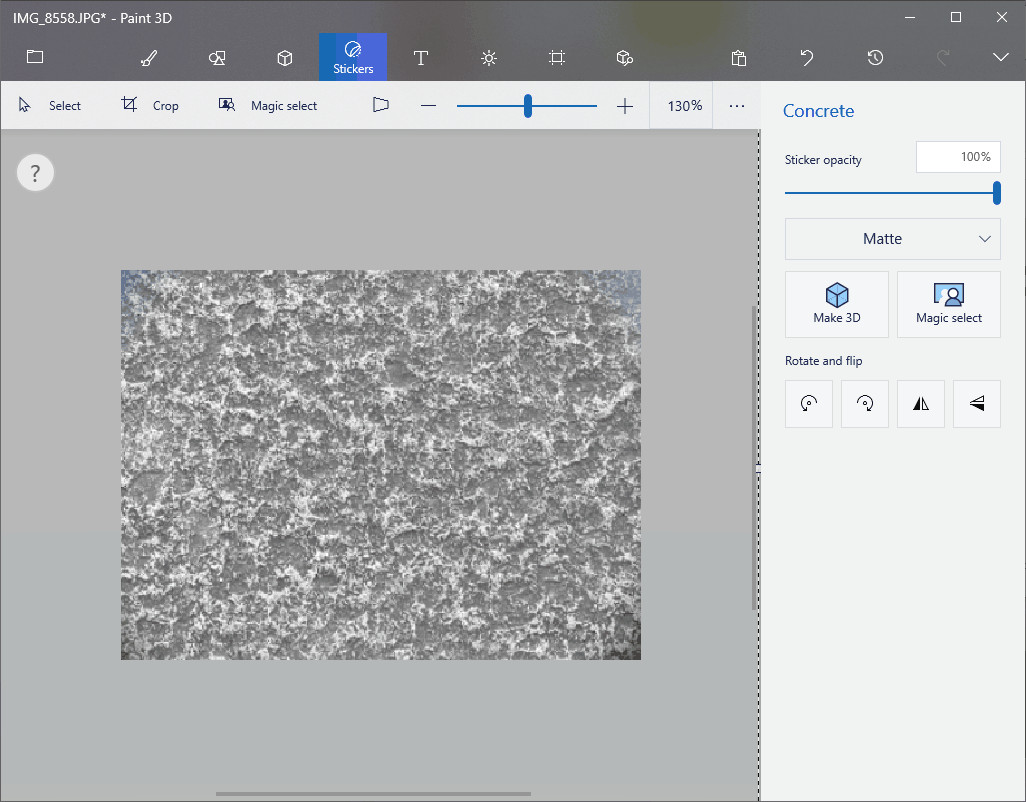
- Decrease the opacity (under Sticker opacity) until the film grain texture effect looks about right.
A start: Start at around 7% opacity.
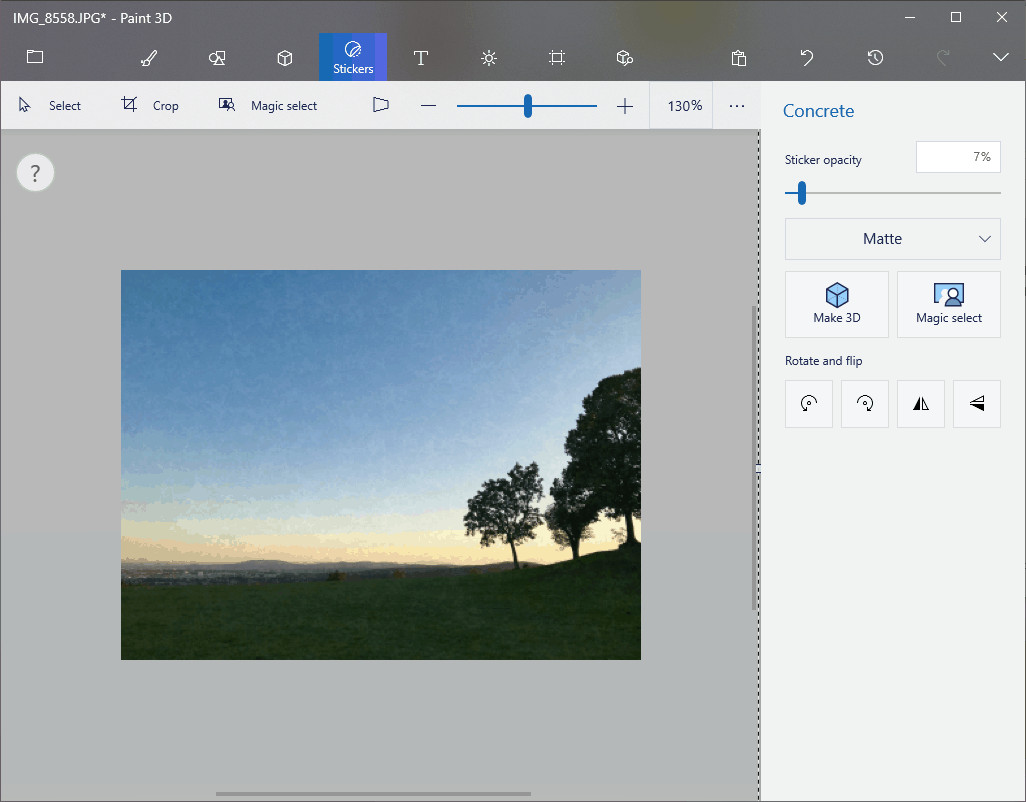
- Continue editing the image and, eventually, export or save it.
ISO 3200?
Tips help fuel these email and tech how-tos.
How to Add a Photo (Film) Grain Texture Effect to an Image in Paint 3D: FAQ
Is there a way to fill the image with a sticker?
No.
For an alternative to Paint 3D’s built-in textures, you can add any image as a sticker. That includes film grain textures you download, of course.
(Tested with Paint 3D 6.2105–6.2402; first published February 2020, last updated June 2024)