
Want to set up groups of recipients in Outlook and send emails or newsletters fast? Find out here how to create an email group (distribution list) in Outlook for Mac ⤓, how to address and edit it, and what to do when “New Contact List” is grayed out.
On This Page
How to Create an Email Group (Distribution List) in Outlook for Mac
Time needed: 5 minutes
To create an email group for mailing a distribution list quickly in legacy Outlook for Mac:
- Go to People in Outlook for Mac.
Keyboard shortcut: Press Command 3 to go to People directly.
- Click New Contact List on the ribbon’s Home tab.
Using the menu: You can also (and from anywhere in Outlook for Mac) select File | New | Contact List from the menu.
Hover: Position the mouse cursor over New Contact in New Outlook to reveal all options.
New Contact List grayed out: If you cannot access or click New Contact List, see below for enabling contact lists. - Type a name for the list that lets you recognize it over Contact List Name.
Legacy Outlook: In legacy Outlook, the field is titled Untitled List.
- Add new recipients to the list:
1. Start typing the member’s email address or name over Enter email address.
2. Click Add.
Legacy Outlook: Double-click in the first empty line in the member’s list, then type the recipient’s name in the Name column and select from auto-complete entries.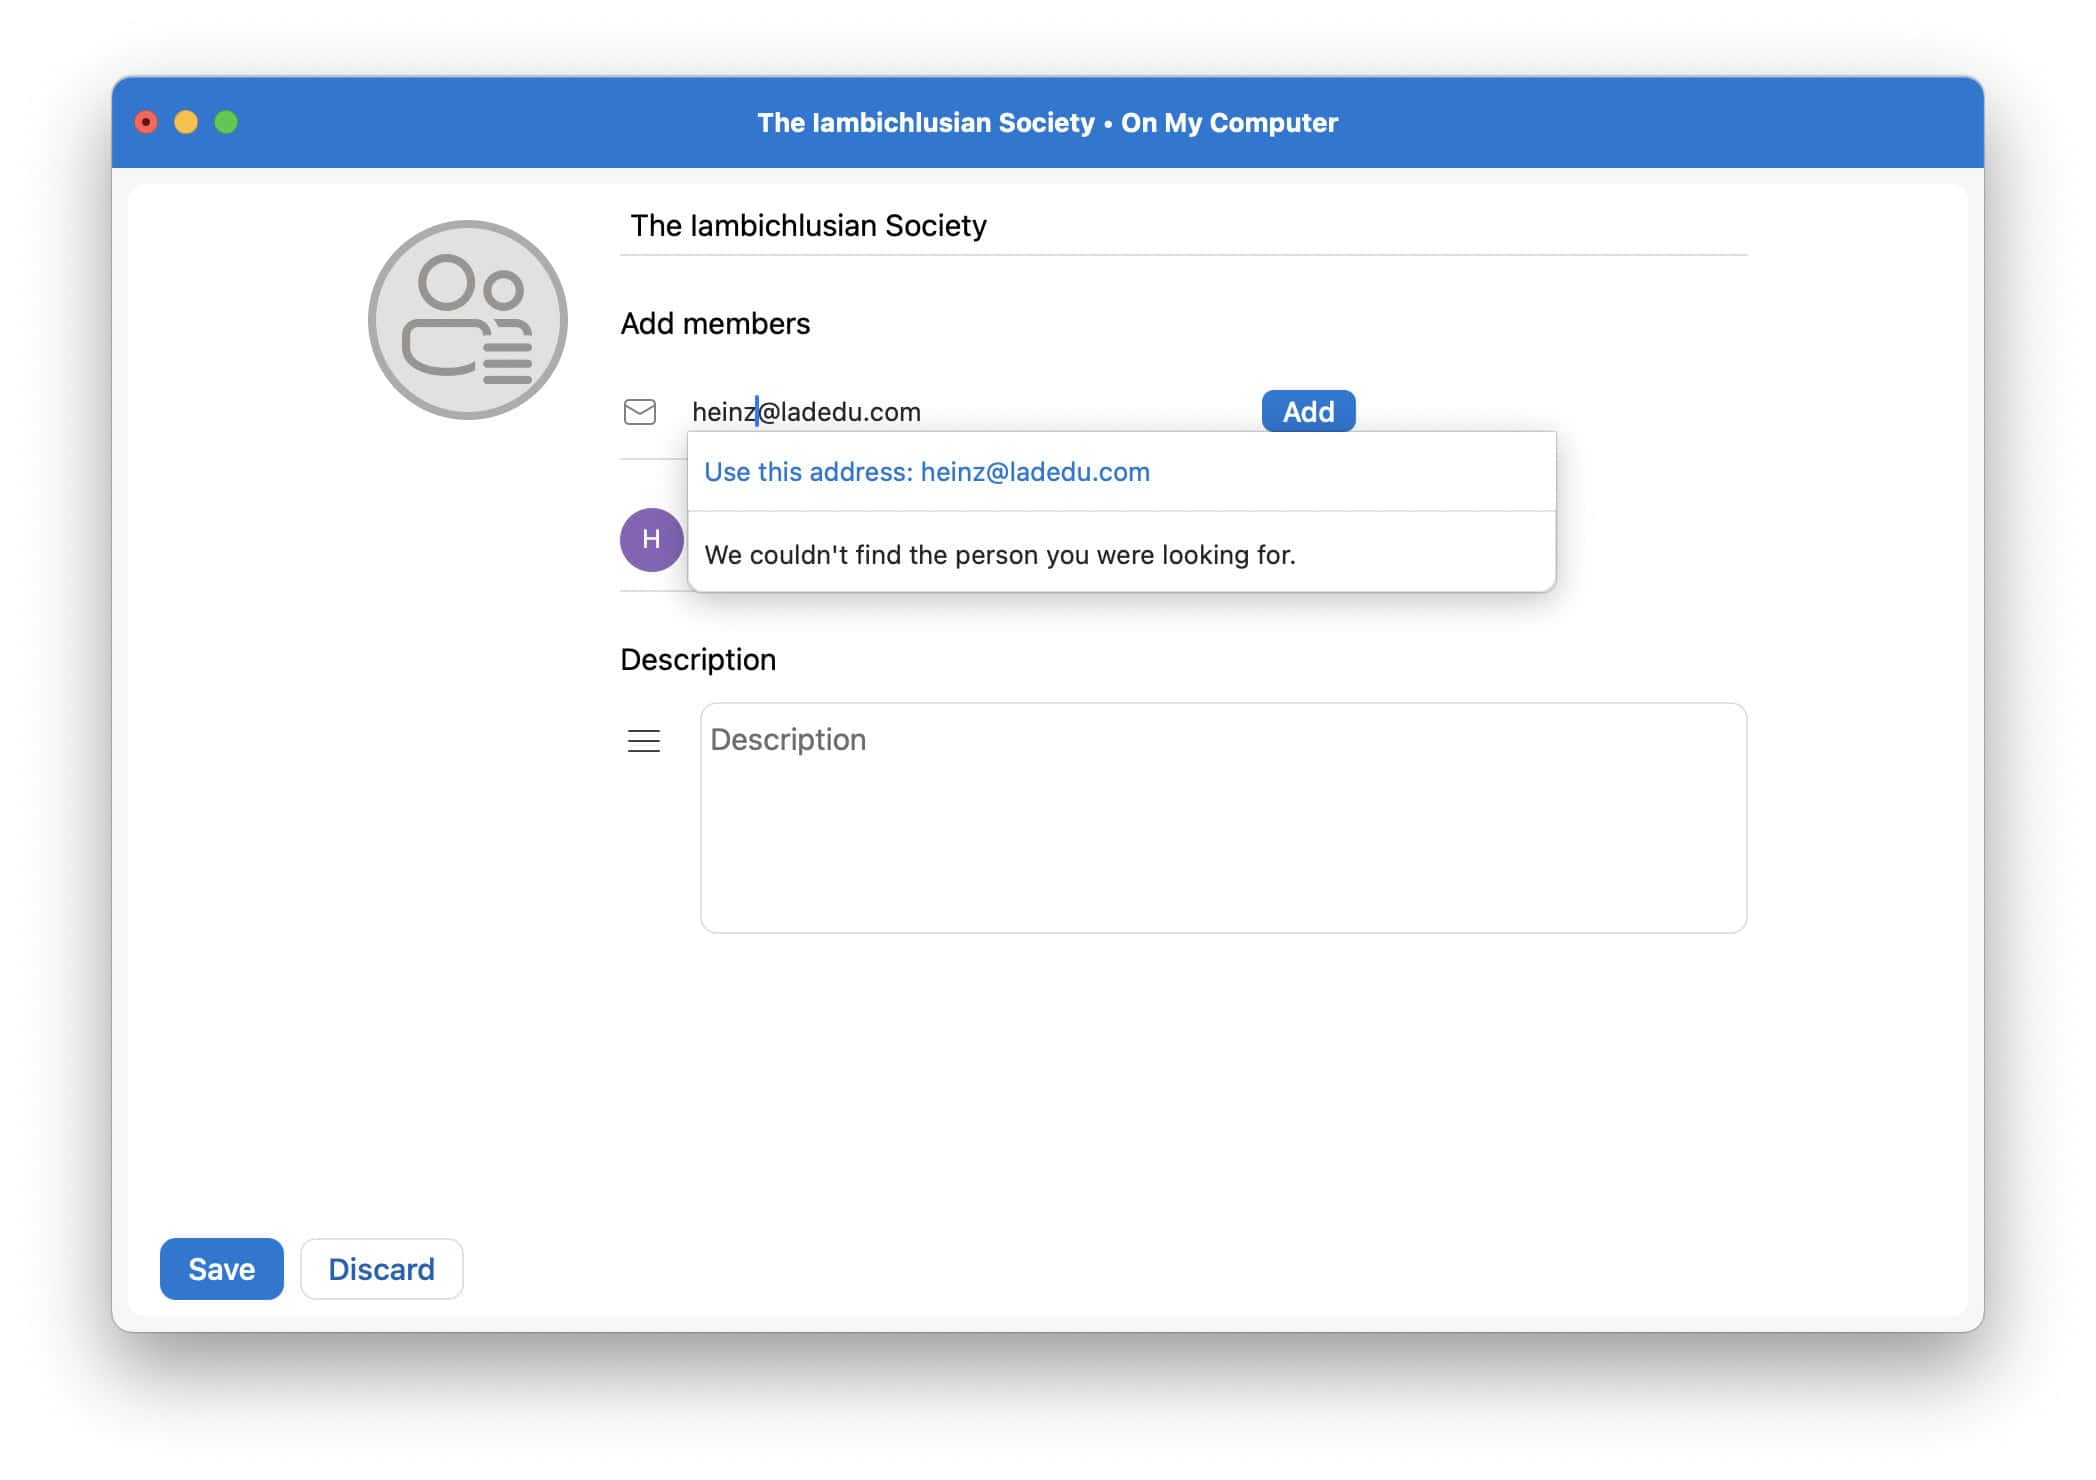
- In legacy Outlook for Mac: Optionally check Use Bcc to hide member information.
One or the other: This setting does not usually make much difference in day-to-day use either way; see below for its meaning.
- Click Save or Save & Close (legacy Outlook for Mac).
Save without closing and use the list: You can also press Command S to save the list without closing it so you can immediately use it and set up a meeting or send a message to list members, for instance.
Up to date: Do save before using the list, or you will use the list without unsaved changes.
Their word: Microsoft include information on contact lists in Outlook for Mac help.
Wrangled the group into one merry band?
Tips help fuel these email and tech how-tos.
How to Edit a Distribution List in Outlook for Mac
To edit a distribution list and add, remove or change members:
- Go to People.
- Find and double-click the list.
Here’s where: You will find lists in the account’s Contact Lists folder, while legacy Outlook for Mac distributions lists are stored and appear in the On My Computer address book. - Double-click any list entry to edit it.
- Click Edit.
Legacy Outlook for Mac: You can skip this step in legacy Outlook. - Click Add to add a new entry.
- Use the trashcan icon (Outlook for Mac) or highlight any entry and click Delete (legacy Outlook) to remove it.
More than one: Hold down Command or Shift (for a range) to select multiple entries and delete them in one go using legacy Outlook for Mac.
How to Create an Email Group (Distribution List) in Outlook for Mac: FAQ
New Contact List is grayed out in Outlook for Mac; how can I set up a distribution list?
To make sure you can set up distribution lists in Outlook for Mac:
- Select Outlook | Preferences… from the menu.
Important: New Outlook for Mac does not currently offer On My Computer folders and, consequently, no contact lists. Switch back to legacy Outlook for the time being to use groups in Outlook for Mac. - Open the General category under Personal Settings.
- Uncheck Hide On My Computer folders.
- Close the General preferences window.

Outlook for Mac contact lists are stored in a local ("On My Computer") folder. This is why those folders need to be enabled and visible for lists to work.
On Windows? How to Create a Distribution List in Outlook for Windows
What does “Use Bcc to hide member information” mean and what effect does it have?
With Use Bcc to hide member information enabled for list,
- legacy Outlook for Mac will enter the list in the Bcc: field when you start a new message from the list,
- otherwise, it will use the To: field.
The Bcc: field hides recipient’s names and addresses, while the To: field with all its entries is visible to all recipients. Even with BCC, you will be able to see all recipients for any email or newsletter you send.
You can always
- explicitly enter the list in the To:, Cc: or Bcc: fields.
(Tested with Outlook for Mac tested with Microsoft Outlook for Mac 16.85 and legacy Outlook for Mac; first published September 2020, last updated June 2026)