
Struggling to find symbols in your Mac’s Character Viewer? The default categories might not show everything you need, slowing down your workflow with guessing and searching. Find out here how to change the categories easily accessible in macOS Character Viewer ⤓ on a Mac instead and speed up your symbol finding.
On This Page
First, the Night-Writer
Do you have ideas at night sometimes, in bed and utter darkness? Then you have something in common with the children’s book-authoring mathematician Lewis Carroll!
Do you want to jot down the ideas lest you lose them to the cozy night of dreaming? Want to do so without exposure to blue light, without orange glasses and without waking everyone by dictation? Maybe you want to share something else with Carroll, too:
Carroll’s nyctography lets you write in total darkness in a manner perfectly legible in full light using a template that leaves only squares to write in — and a square alphabet.
Now, Unicode does not have a page for nyctographic scripts yet, but you can put many another category and code page in neat rectangular boxes with Character Viewer:
How to Change Categories in macOS Character Viewer on a Mac
Time needed: 2 minutes
To change the character categories you can selectively view and pick in macOS Character Viewer on a Mac:
- Open Character Viewer.
Here’s how: Select Edit | Emoji & Symbols from the menu in Finder (you need not edit text).
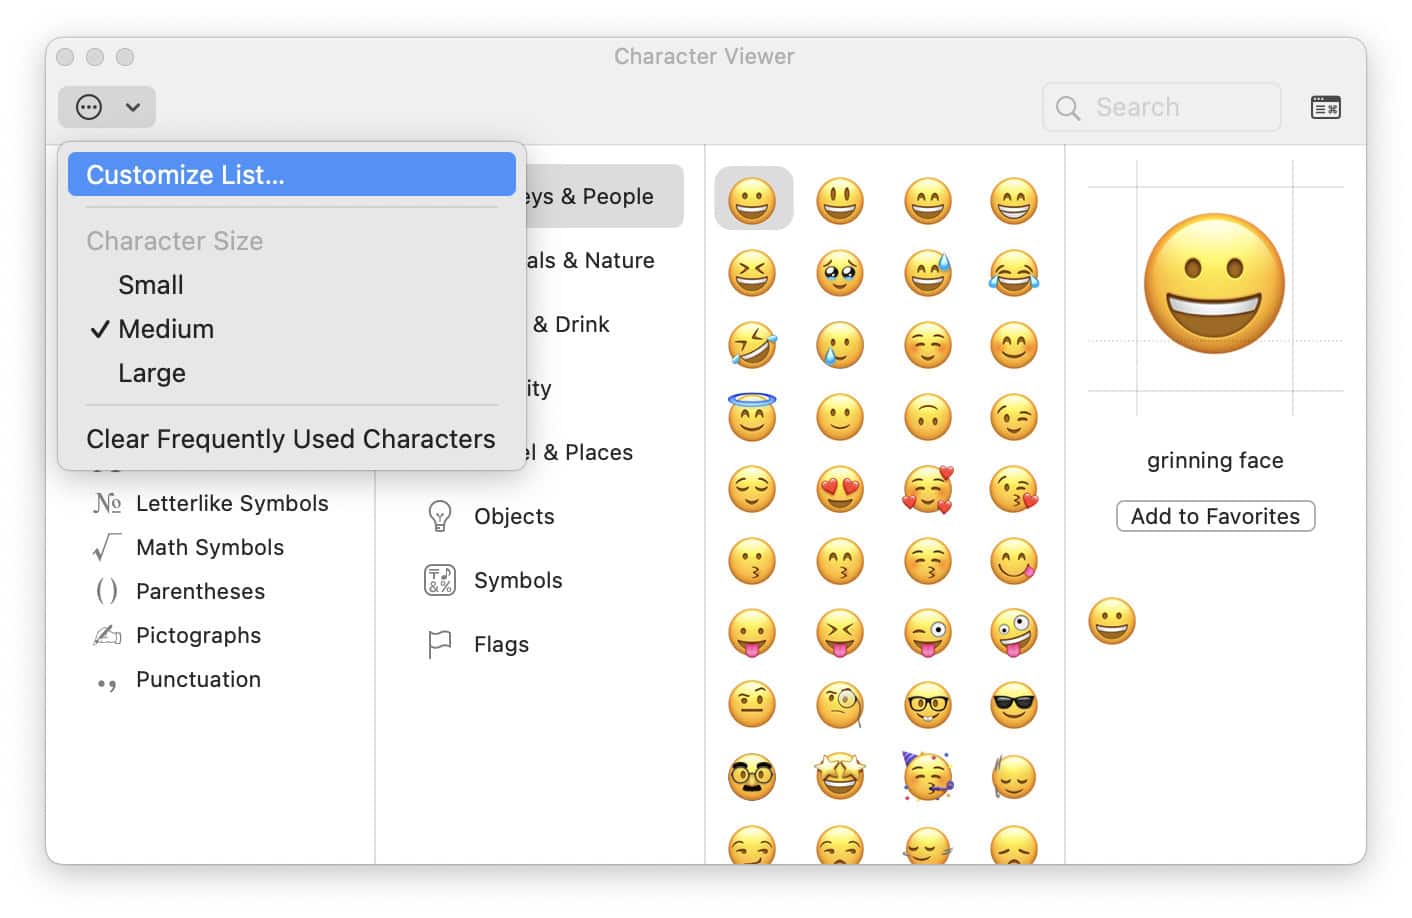
Emoji panel: If the emoji panel opens instead of Character Viewer, click the expansion button in the top right corner. - Click the three dots menu button ⋯⃝ in Character Viewer.
- Select Customize List… from the menu that has appeared.
- Check all scripts, symbol categories and code tables to which you want easy access in Character Viewer.
Example: Check Phonetic Alphabet, for instance, to find characters such as ‘ʛ’ and ‘ɮ’ as well as the combining characters like the breve ͡ in one place.
Code points: Select Unicode under Code Tables to get Unicode as a big collection you can browse by code point. - Click Done.
Their word: Apple include information on using Character Viewer in the Mac User Guide.

Built a simpler character (viewer)?
Tips help fuel these email and tech how-tos.
How to Change macOS Character Viewer Categories on a Mac: FAQ
Can I change the categories in the Mac emoji panel?
No.
While you can edit the categories visible in Character Viewer, the tabs in the emoji picker are fixed.
Using Character Viewer: How to Enter Unicode Characters on a Mac
(Tested with macOS Tahoe 26.0–26.3 and Sequoia 15.1–15.5; first published December 2024, last updated March 2026)